|
I created a demo video so that you can watch the demo and review any steps that are confusing while making your sculpture! This also gives you the opportunity to practice at home! Remember that you can decorate your paper sculpture with simple patterns if you would like, or you could make multiple sculptures and attach them to the same base for a very interesting look!
0 Comments
Kindergarten and Young Fives had fun exploring mixed media this week while creating Polar Bear portraits! The artists learned how to use soft pastel and oil pastel as well as worked on improving their cutting skills! I love seeing how different all of the polar bears turned out, their personalities are so distinct! What a great way to celebrate the polar bear-weather outside! 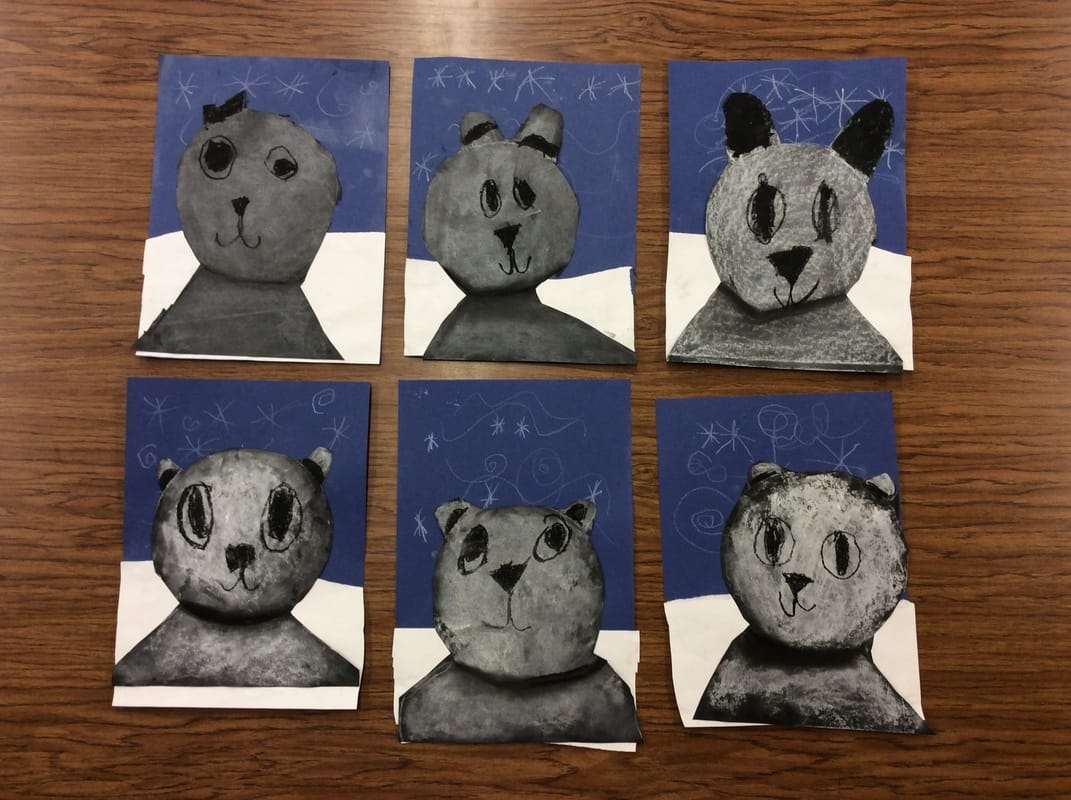 Examples from Mrs. Kleersnyder's class! 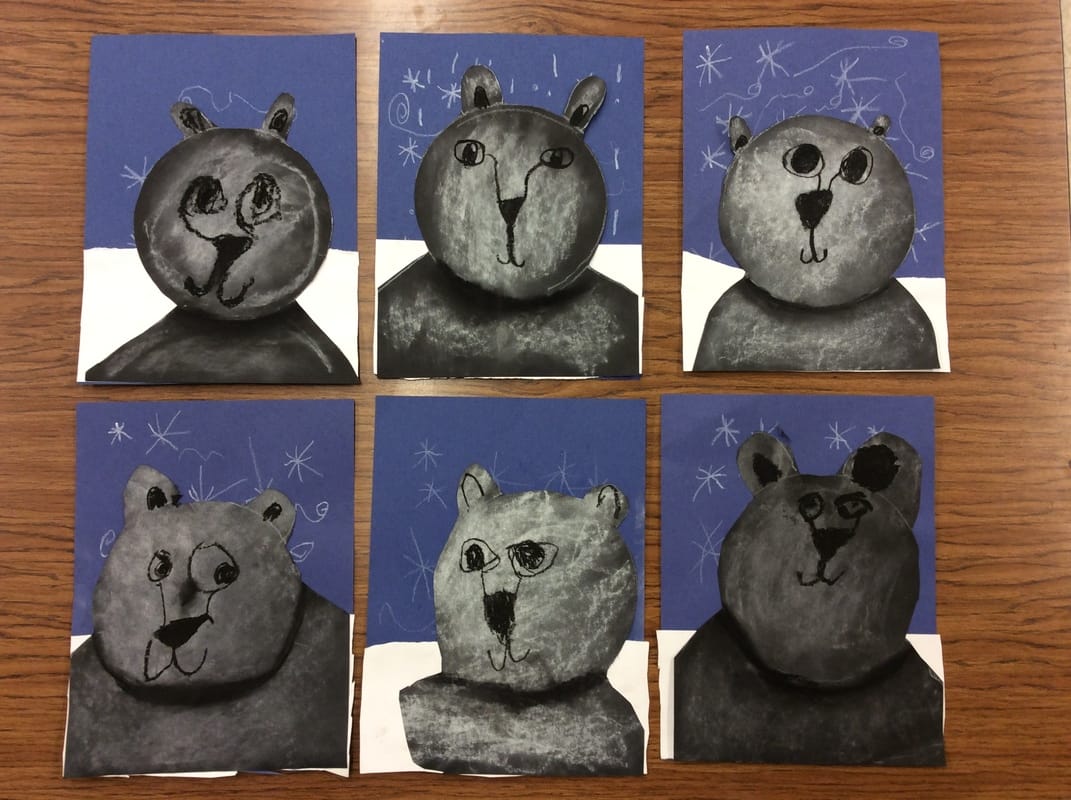 Examples from Mrs. Cornelisse's class! 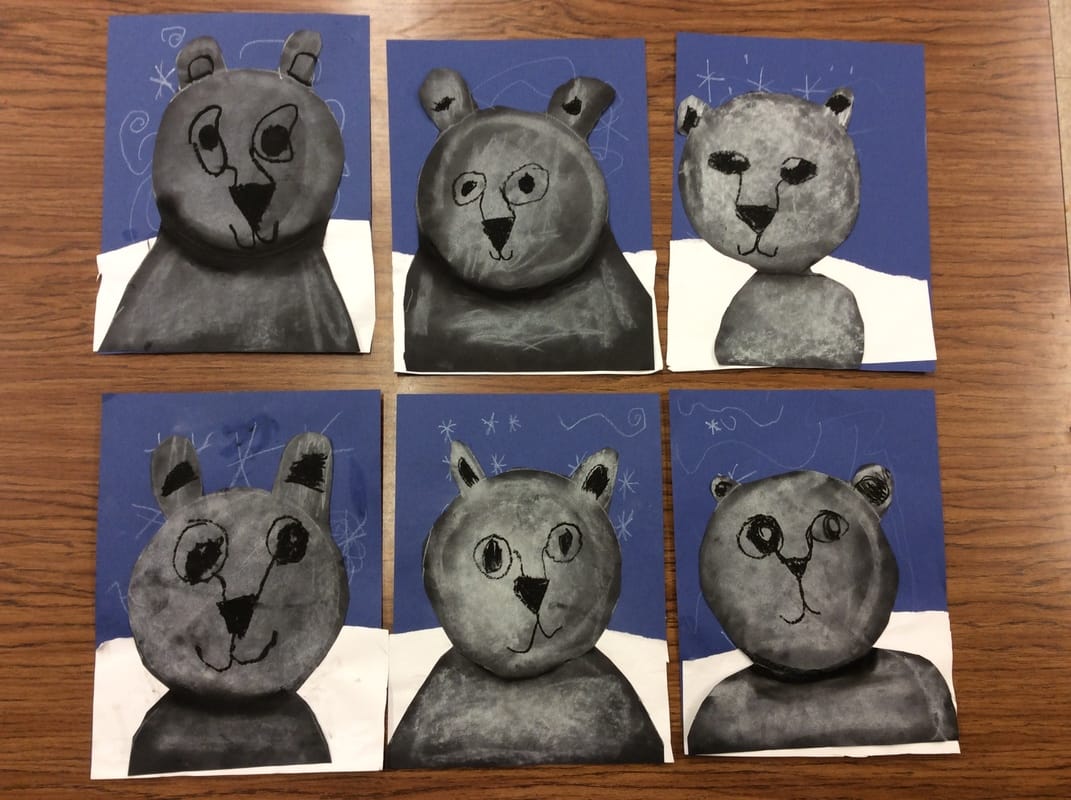 Examples from Mrs. Bauer's class! 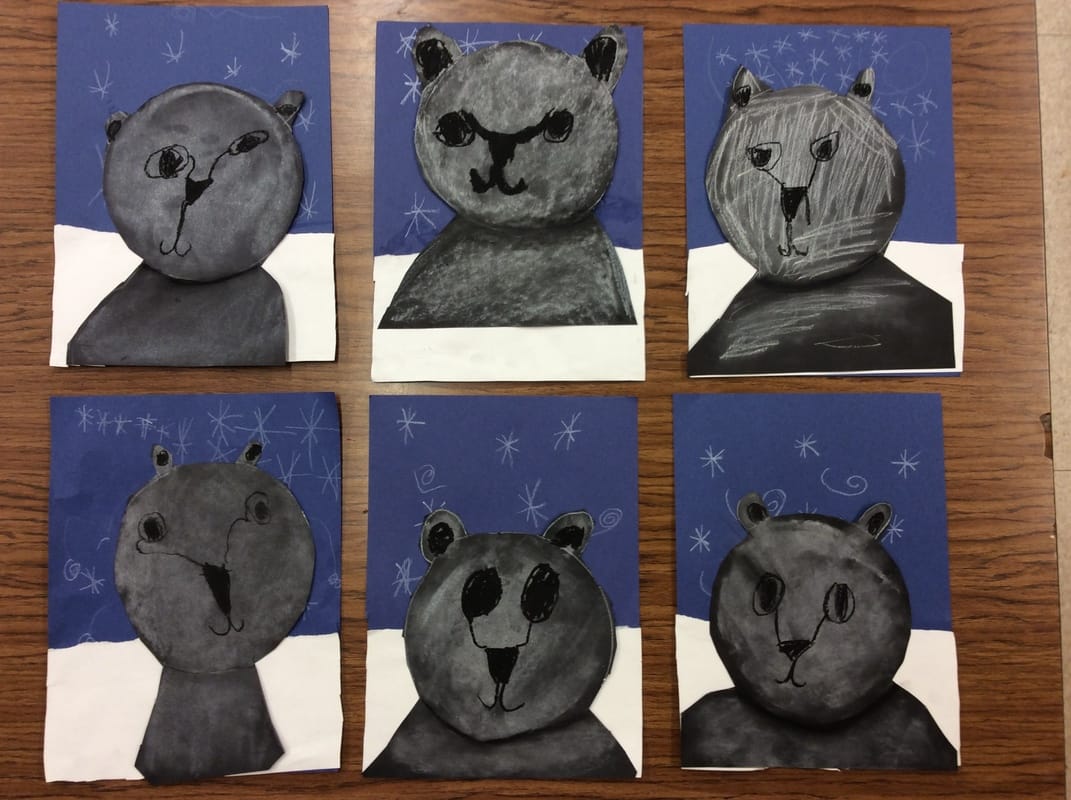 Examples from Mrs. Deyoung's class! Here is a short demo of how to pull a relief print! 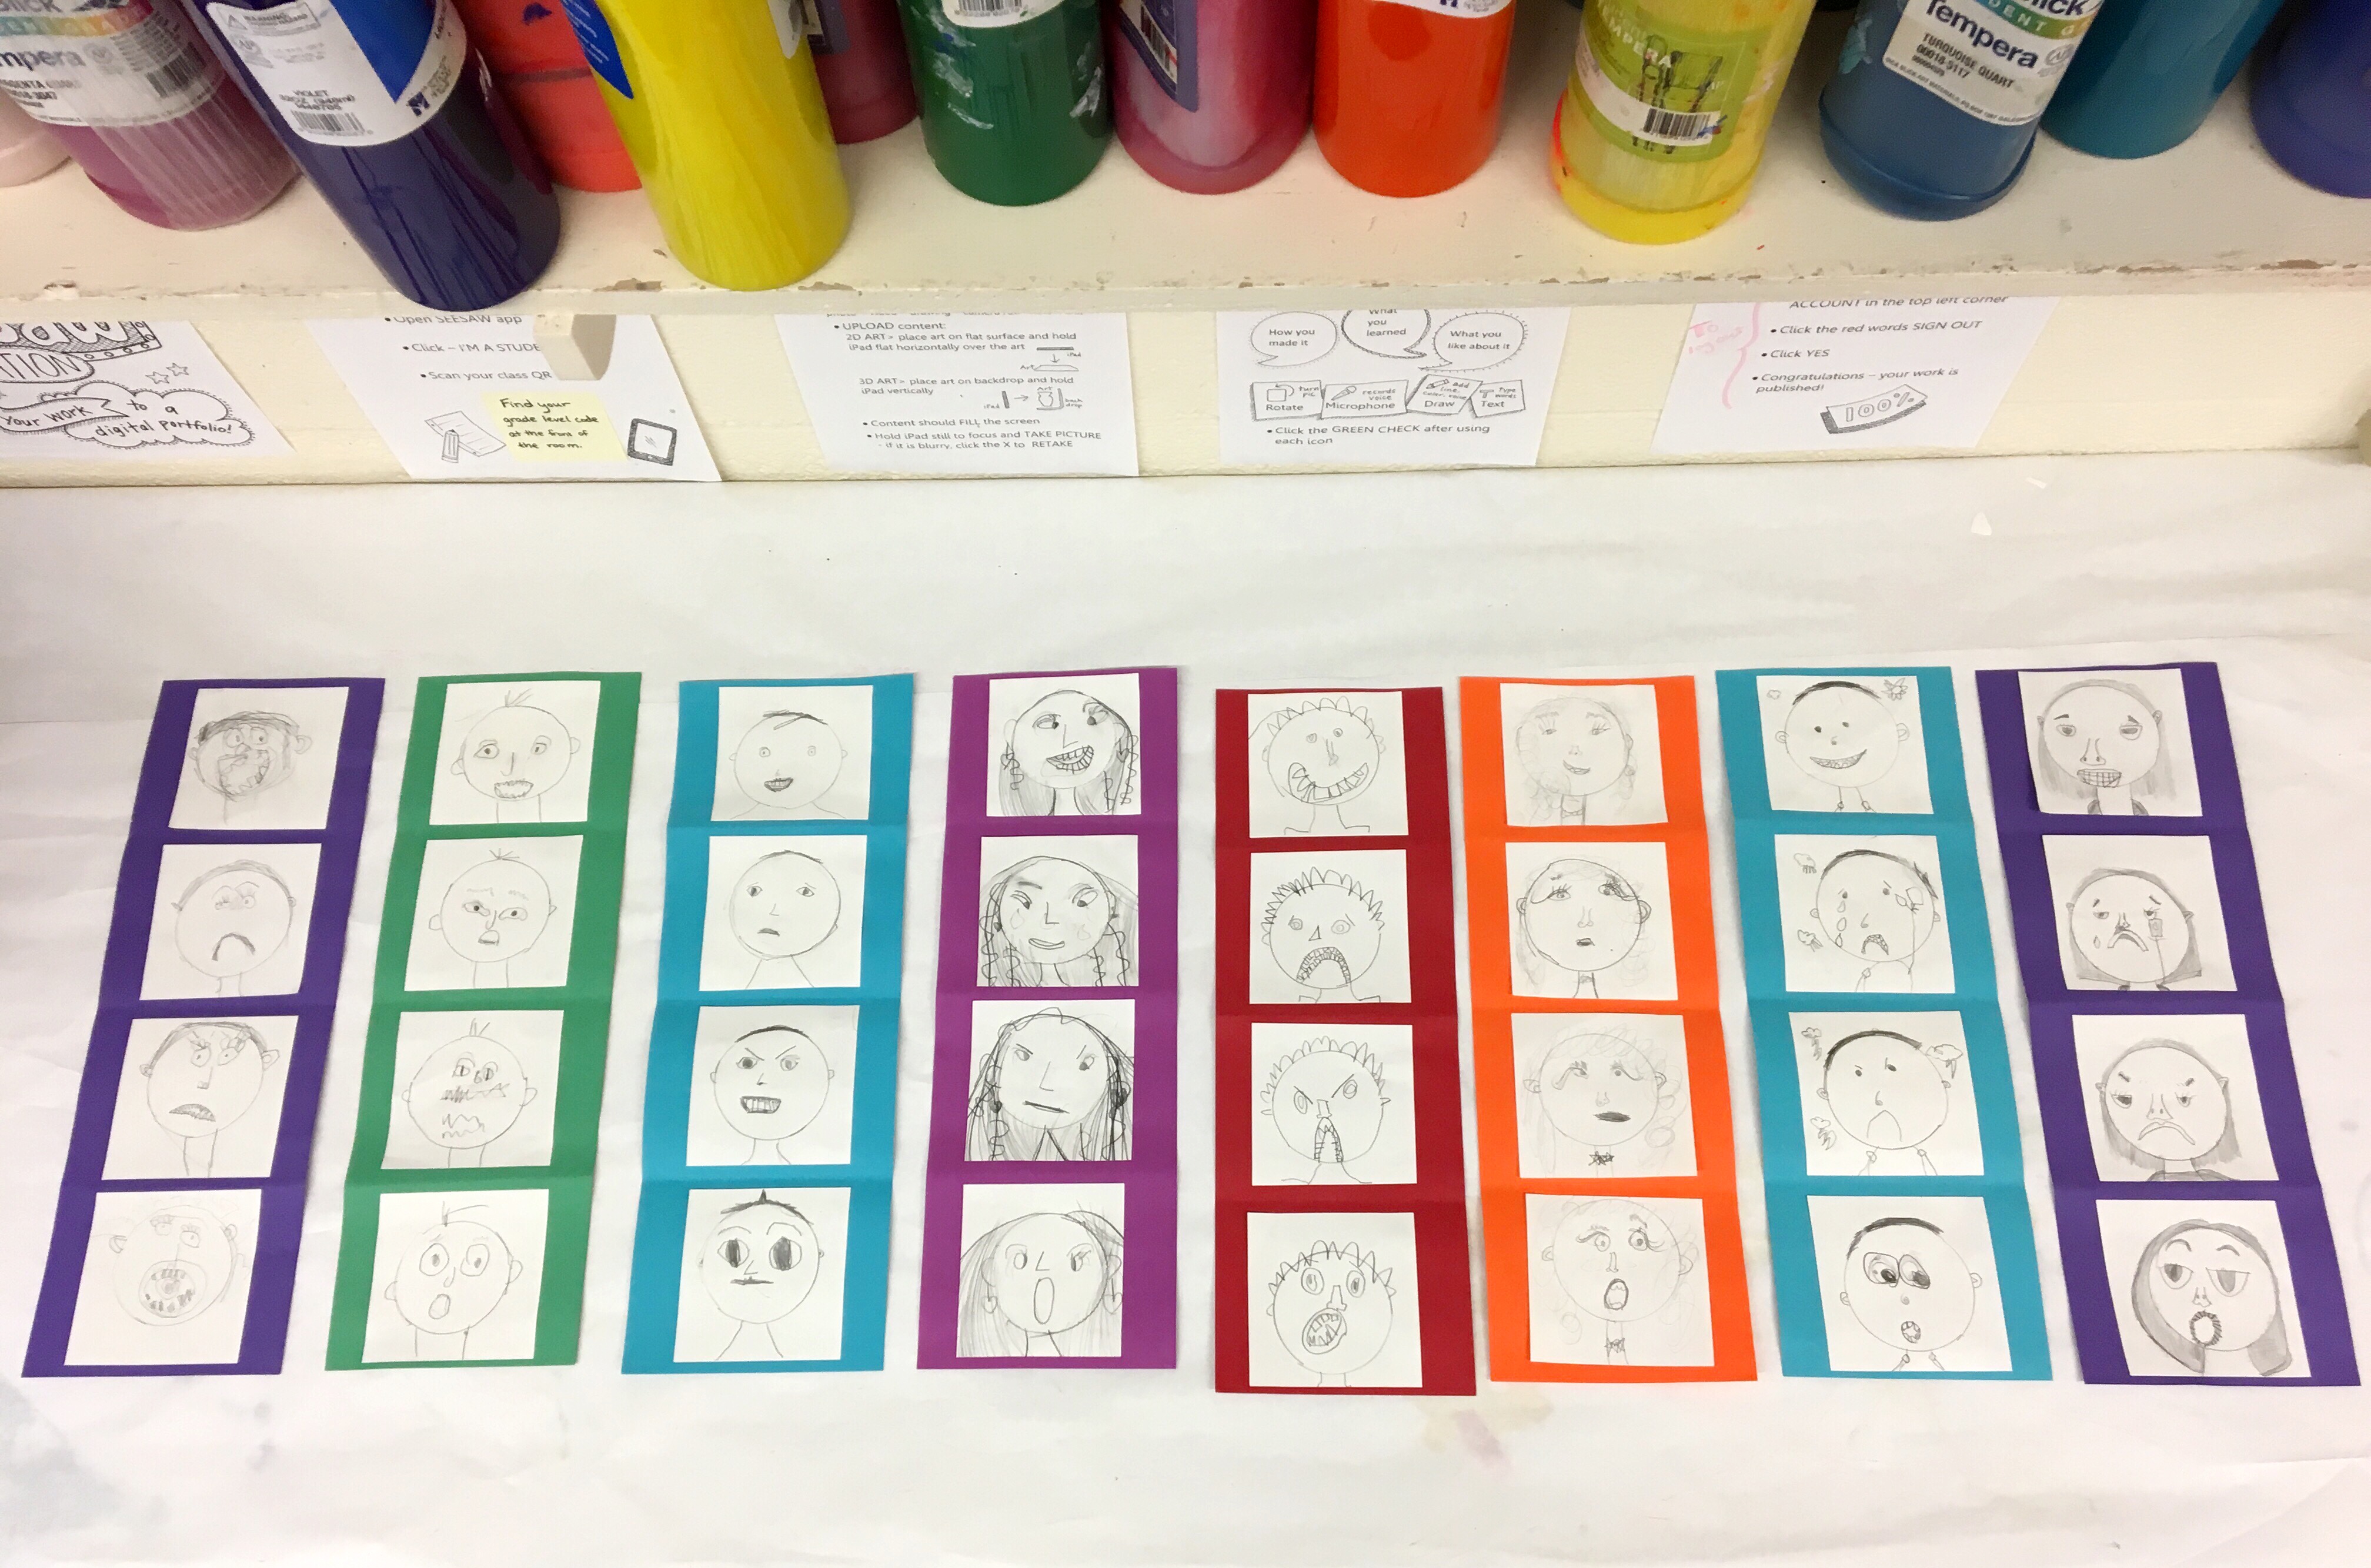 Artist Examples from Mrs. Bauer's class For this self portrait lesson we talked about emotions and different things that we sometimes feel. After thinking about our own emotions a bit we explored the idea that others experience these same emotions, and a good way of understanding how others may be feeling is by reading their facial expressions, also known as emotional literacy. We talked about how part of being a good friend is understanding how others are feeling.  Artist Examples from Mrs. Bauer's class 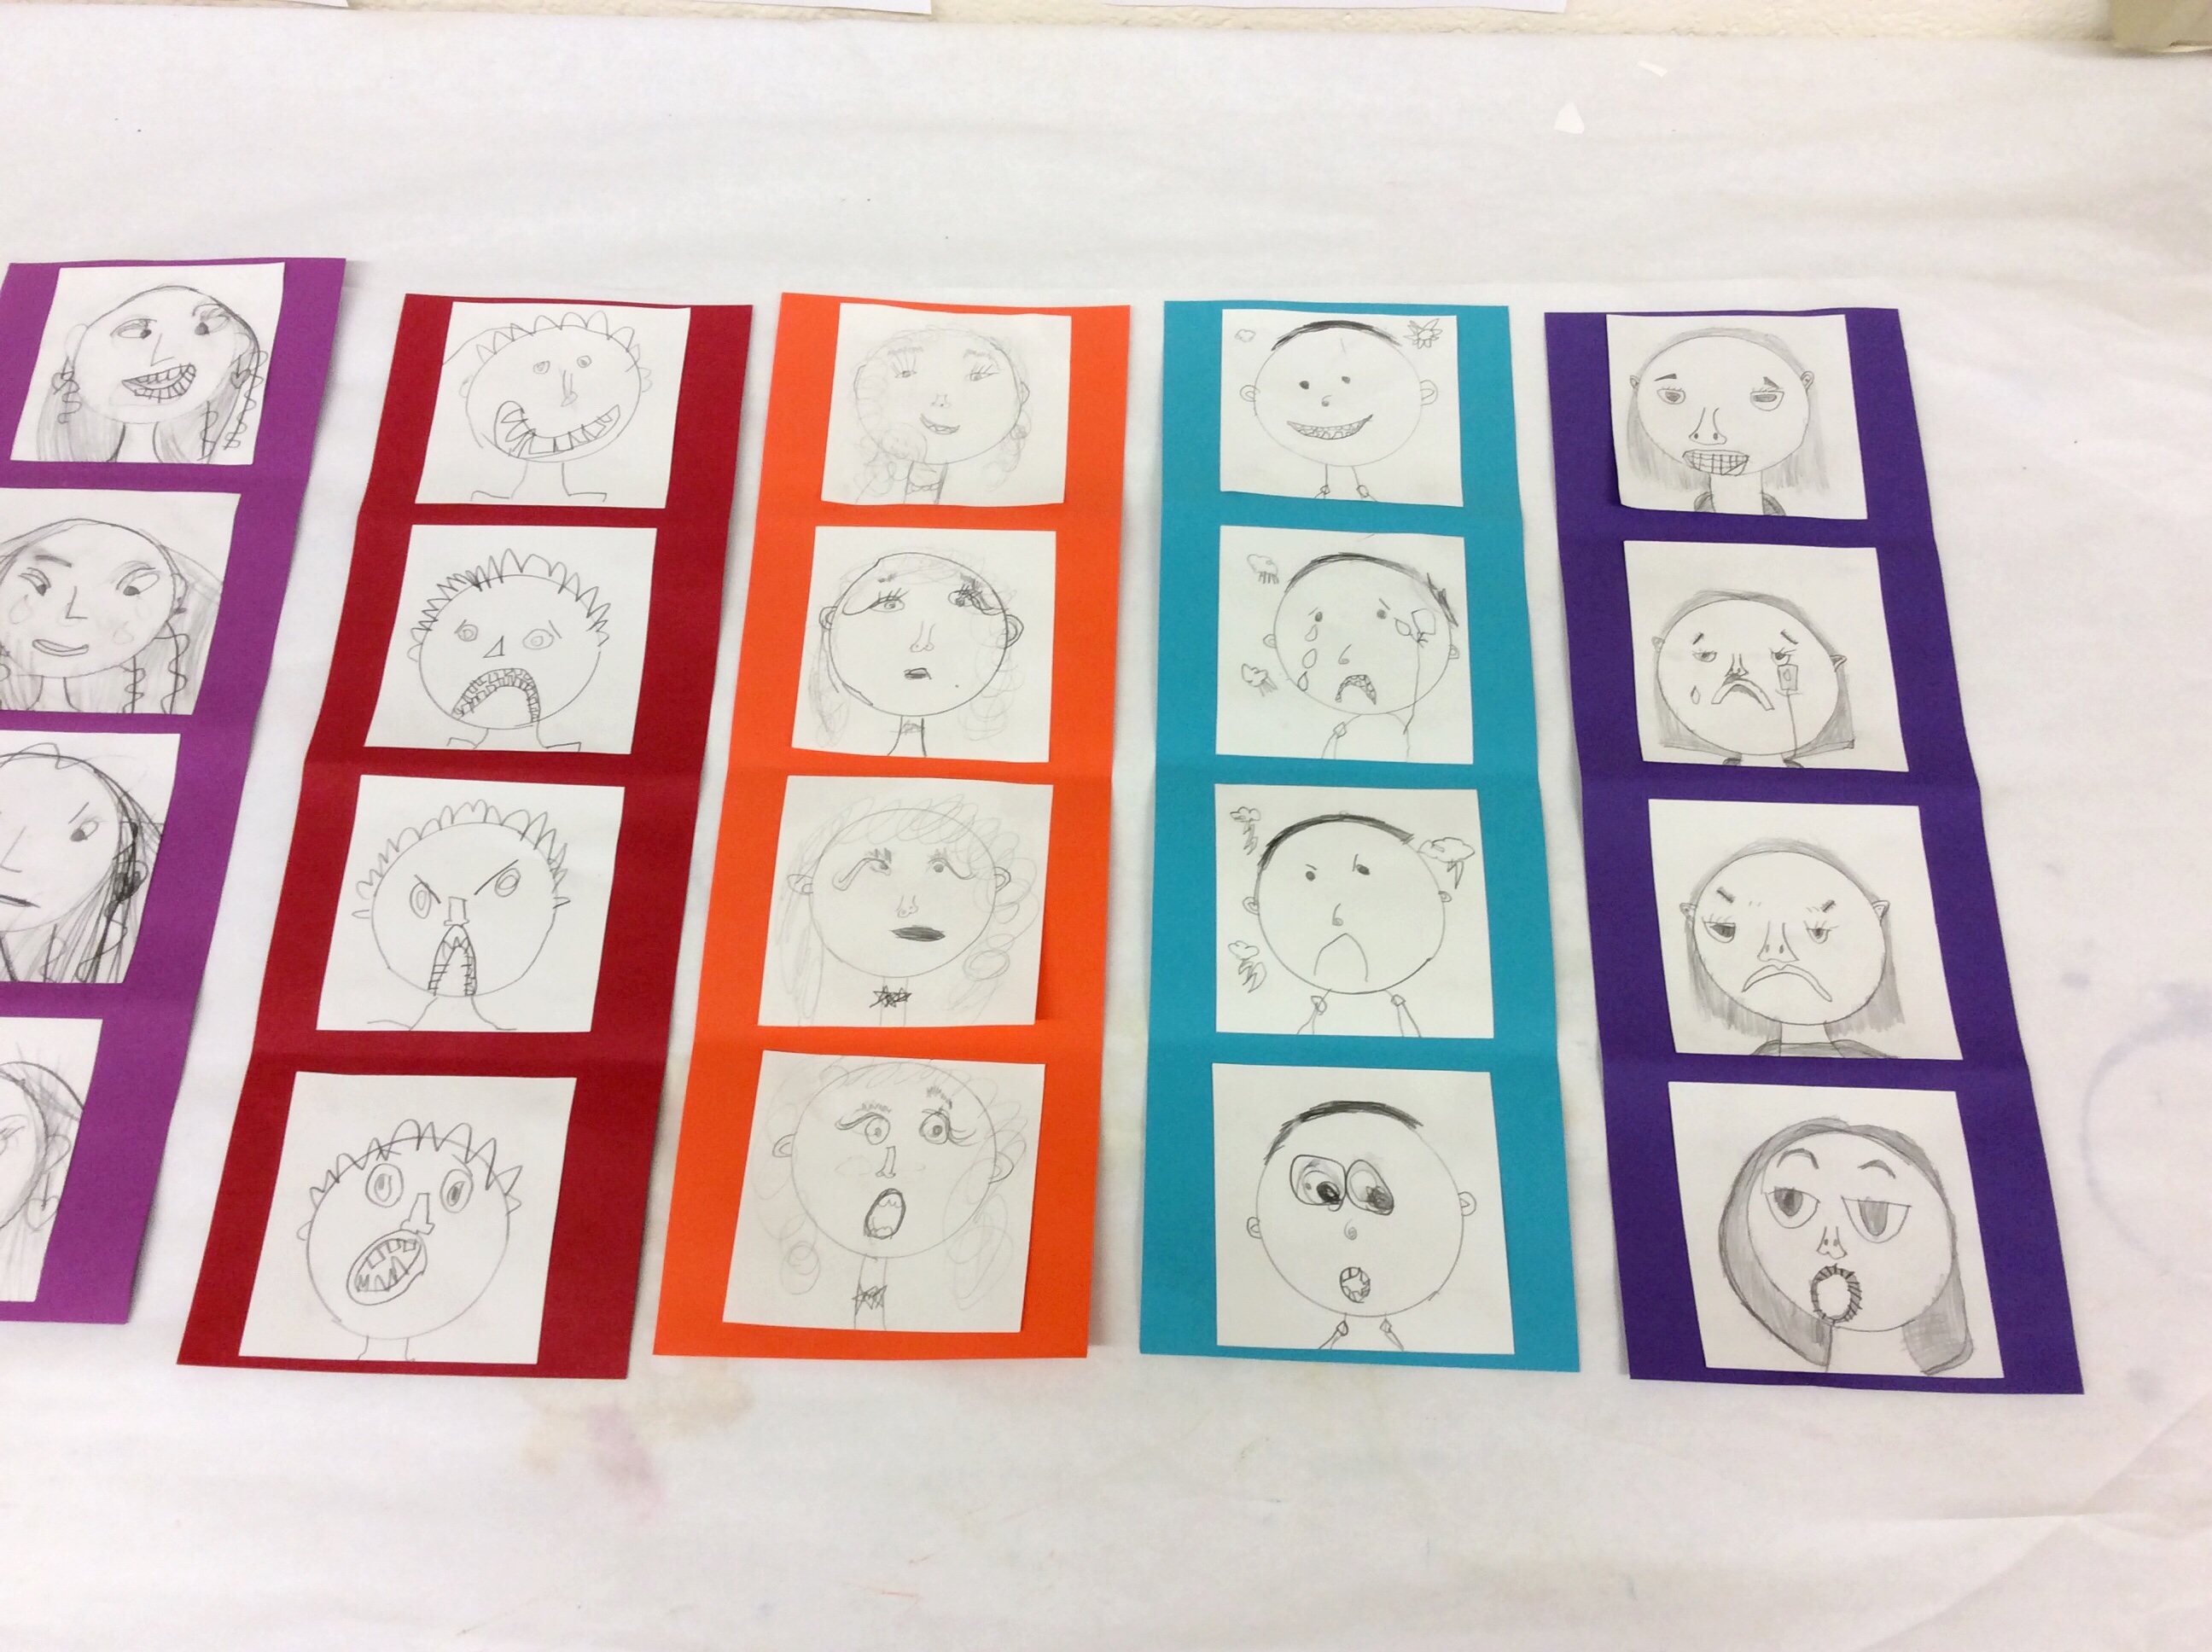 Artist Examples from Mrs. Bauer's class Each student looked in the mirror and pretended to feel different emotions. We started with happy, then sad, then angry, and finally surprised. As their expressions changed they were encouraged to observe how certain features changed, the shape of their mouth, their eyebrows, the shape of their eyes, etc. We worked on drawing what we actually saw instead of just drawing what we assumed we looked like when we felt a certain way. It was exciting to hear the conversations that where sparked between students while working on this lesson. 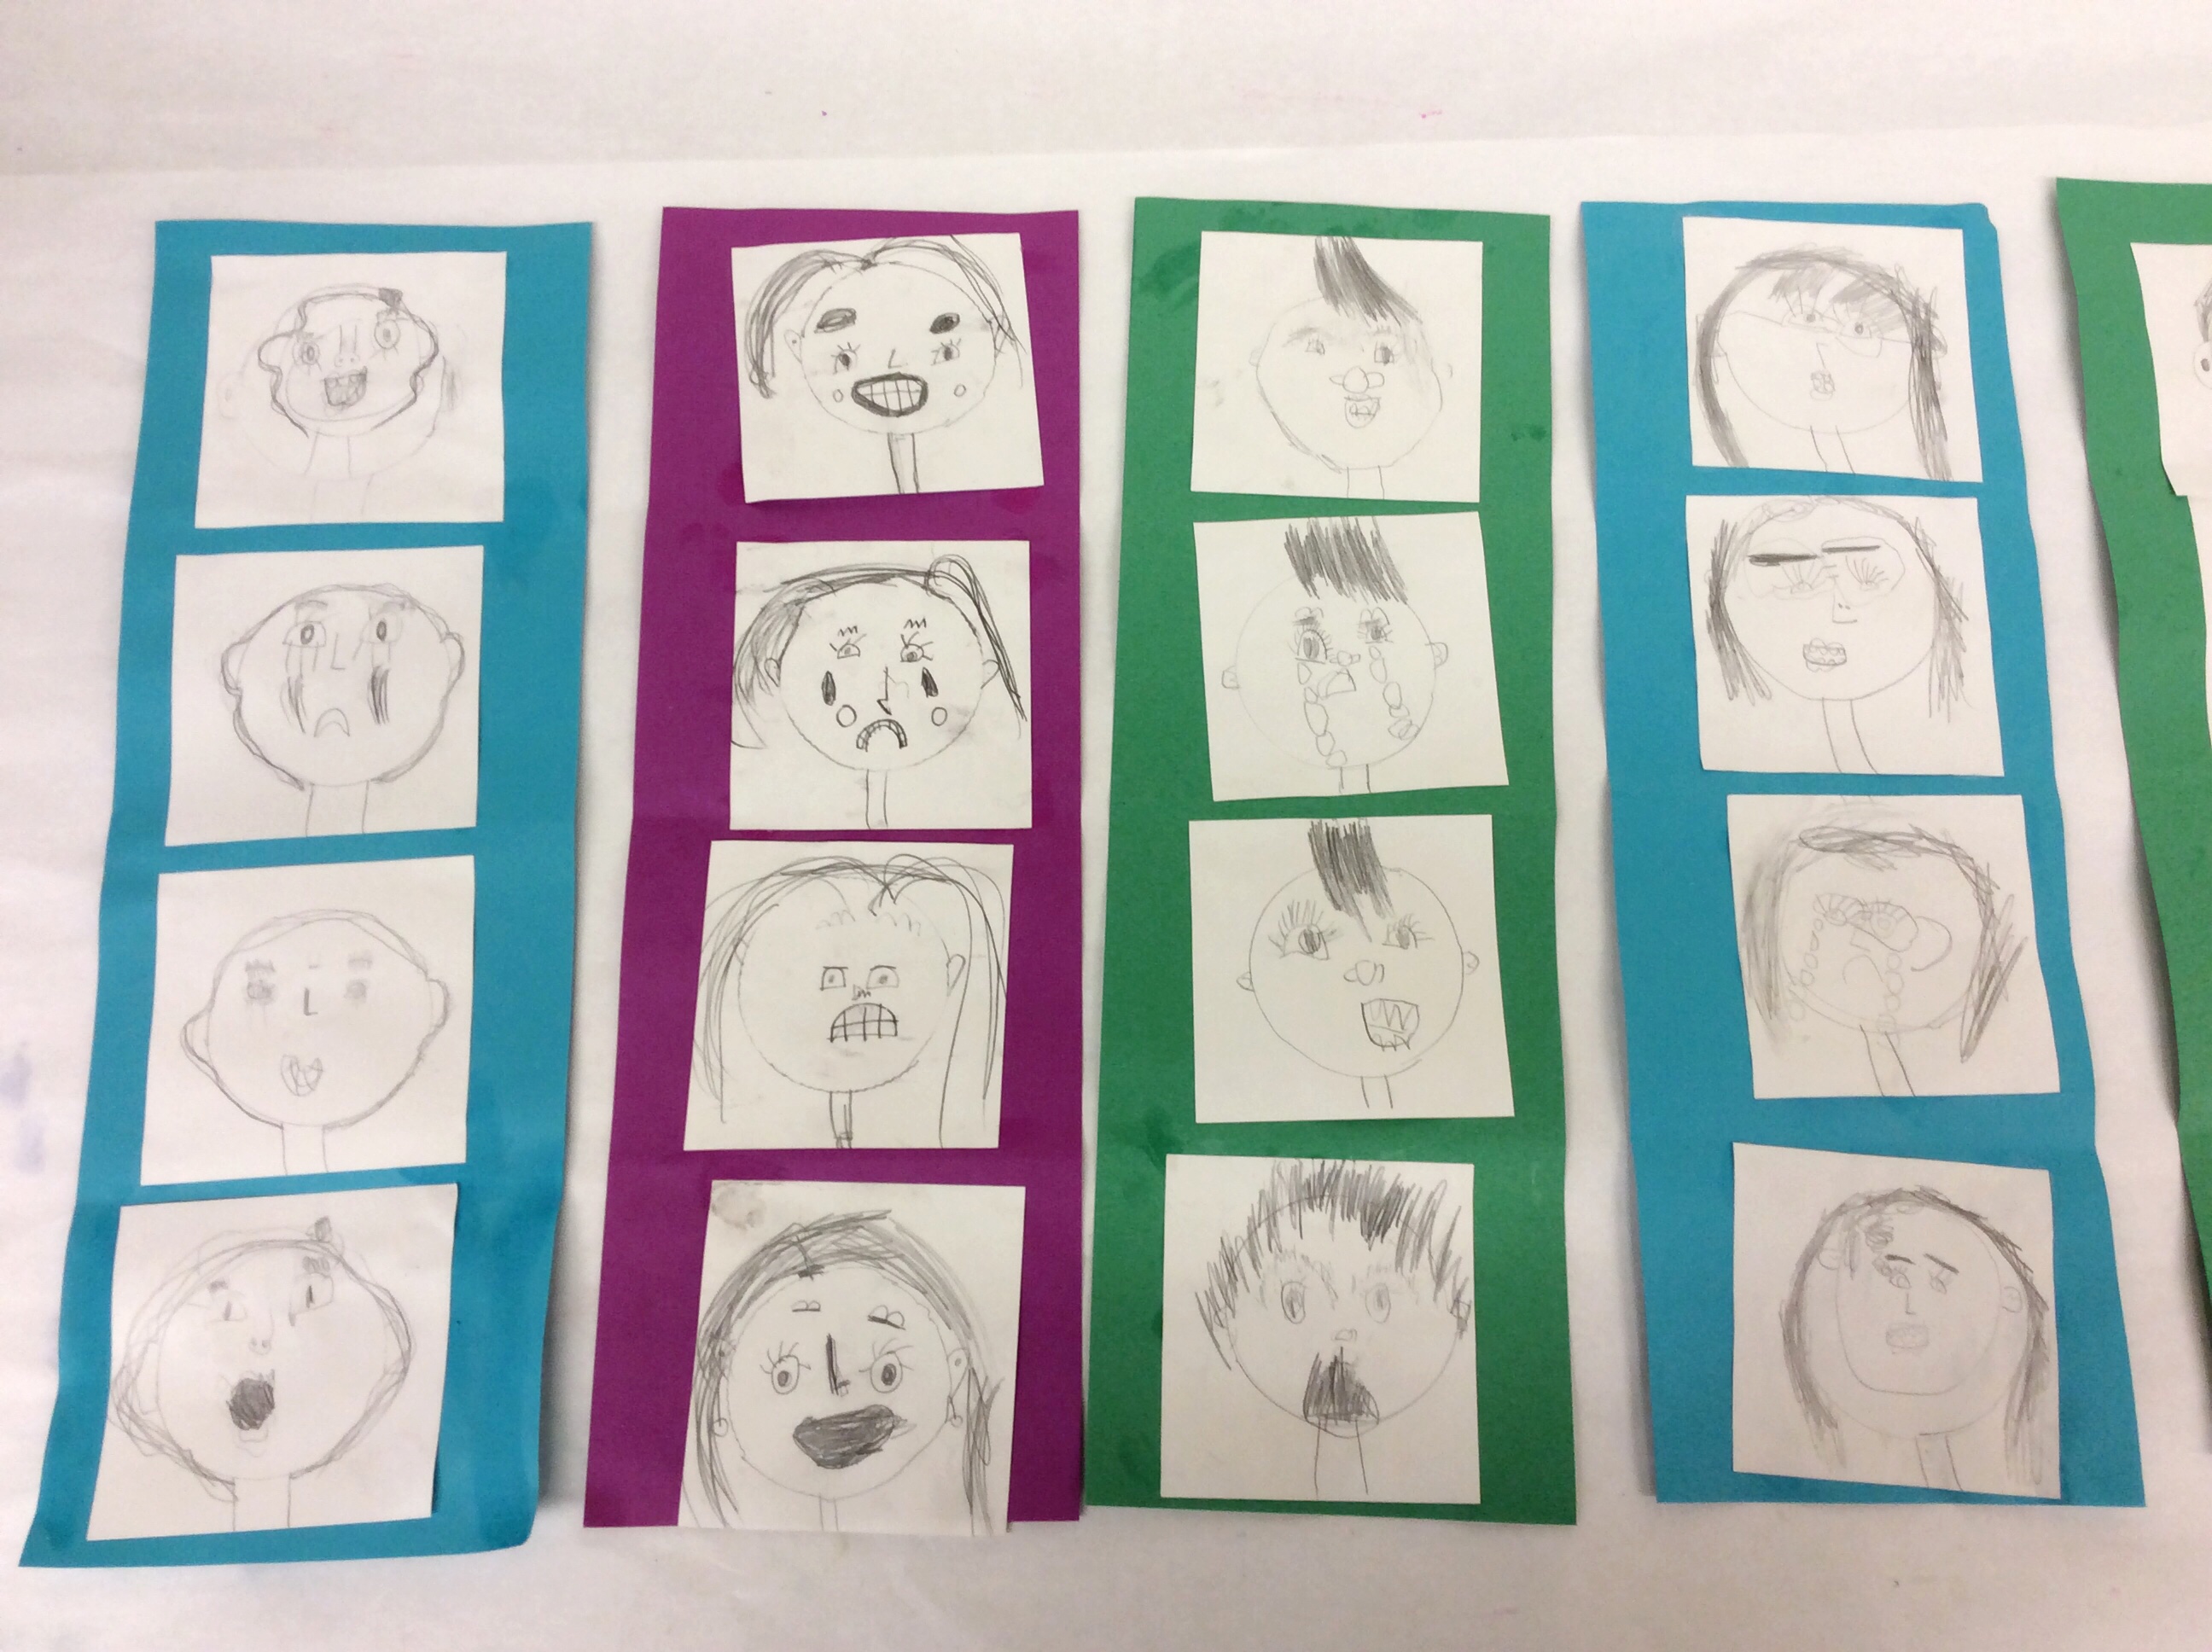 Artist Examples from Mrs. Kleersnyder's class 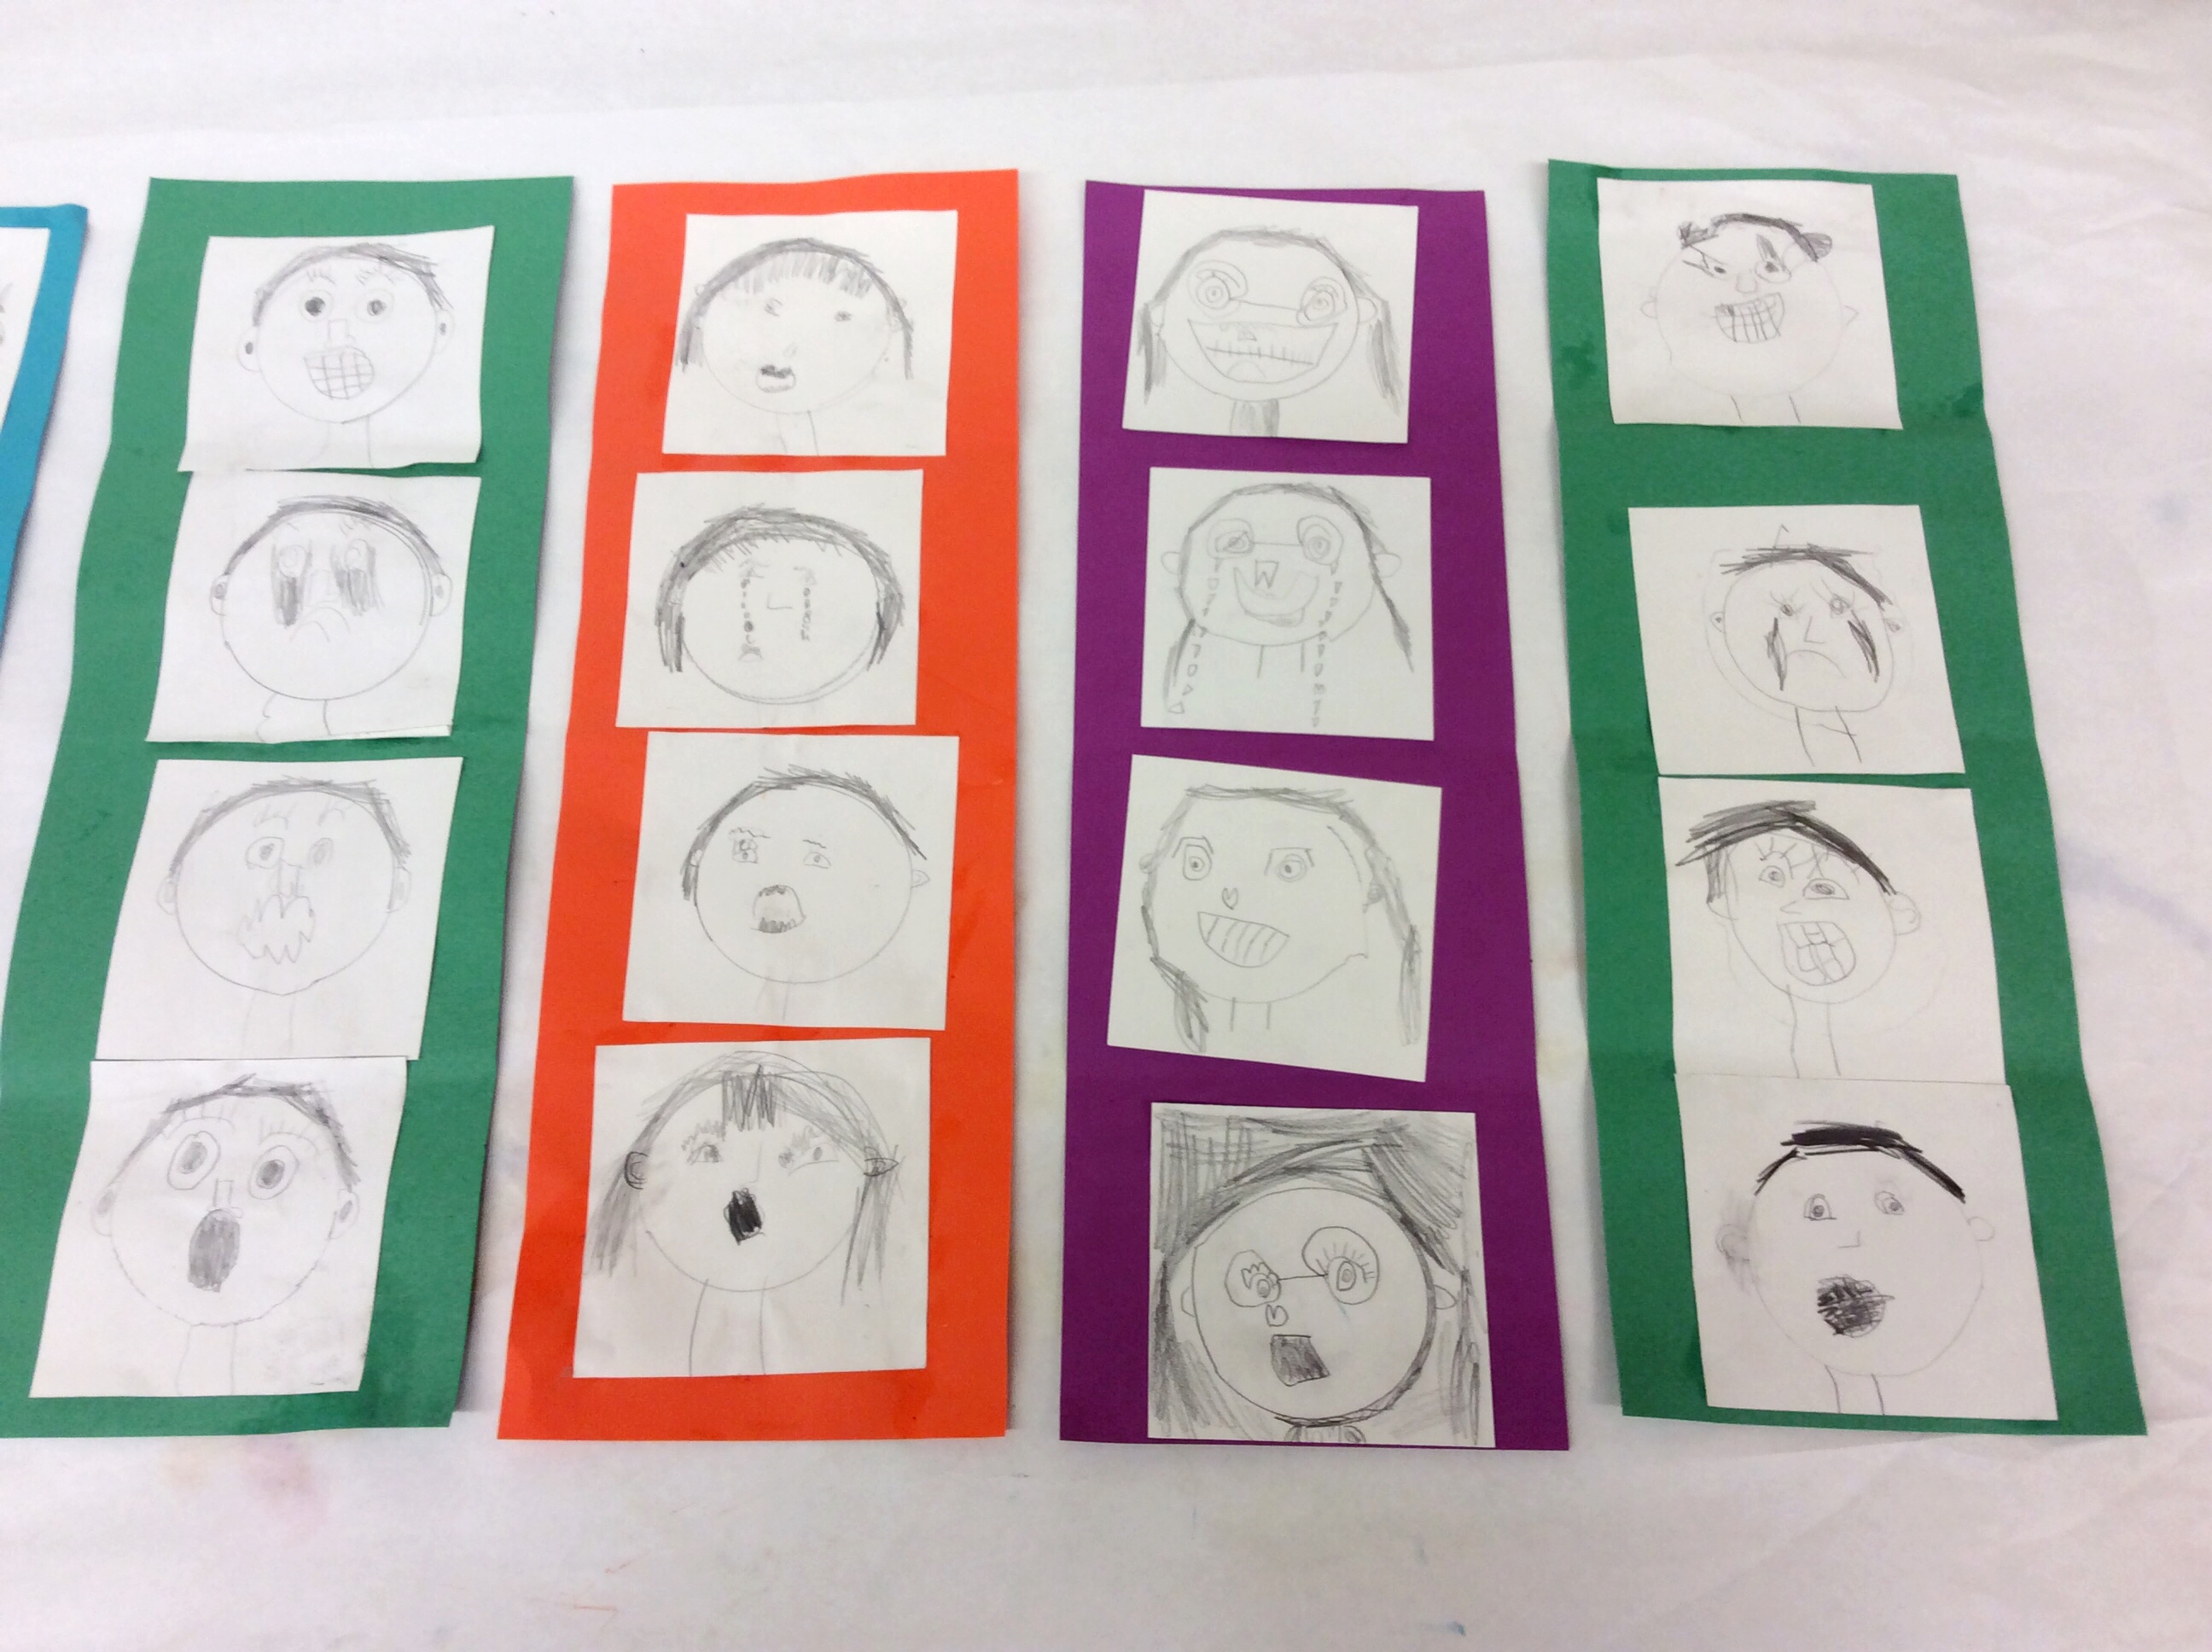 Artist Examples from Mrs. Kleersnyder's class When Kindergarten and Young 5 students come to art class there are often new challenges that they are not always used to in their home classes - such as working in groups. Students are expected to share supplies, use new materials respectfully, choose their own work spaces, and they have a responsibility to move themselves if they are not having success in their chosen area for the day. We practice independence and accountability because these will be important skills for them as they progress through art in the coming years. 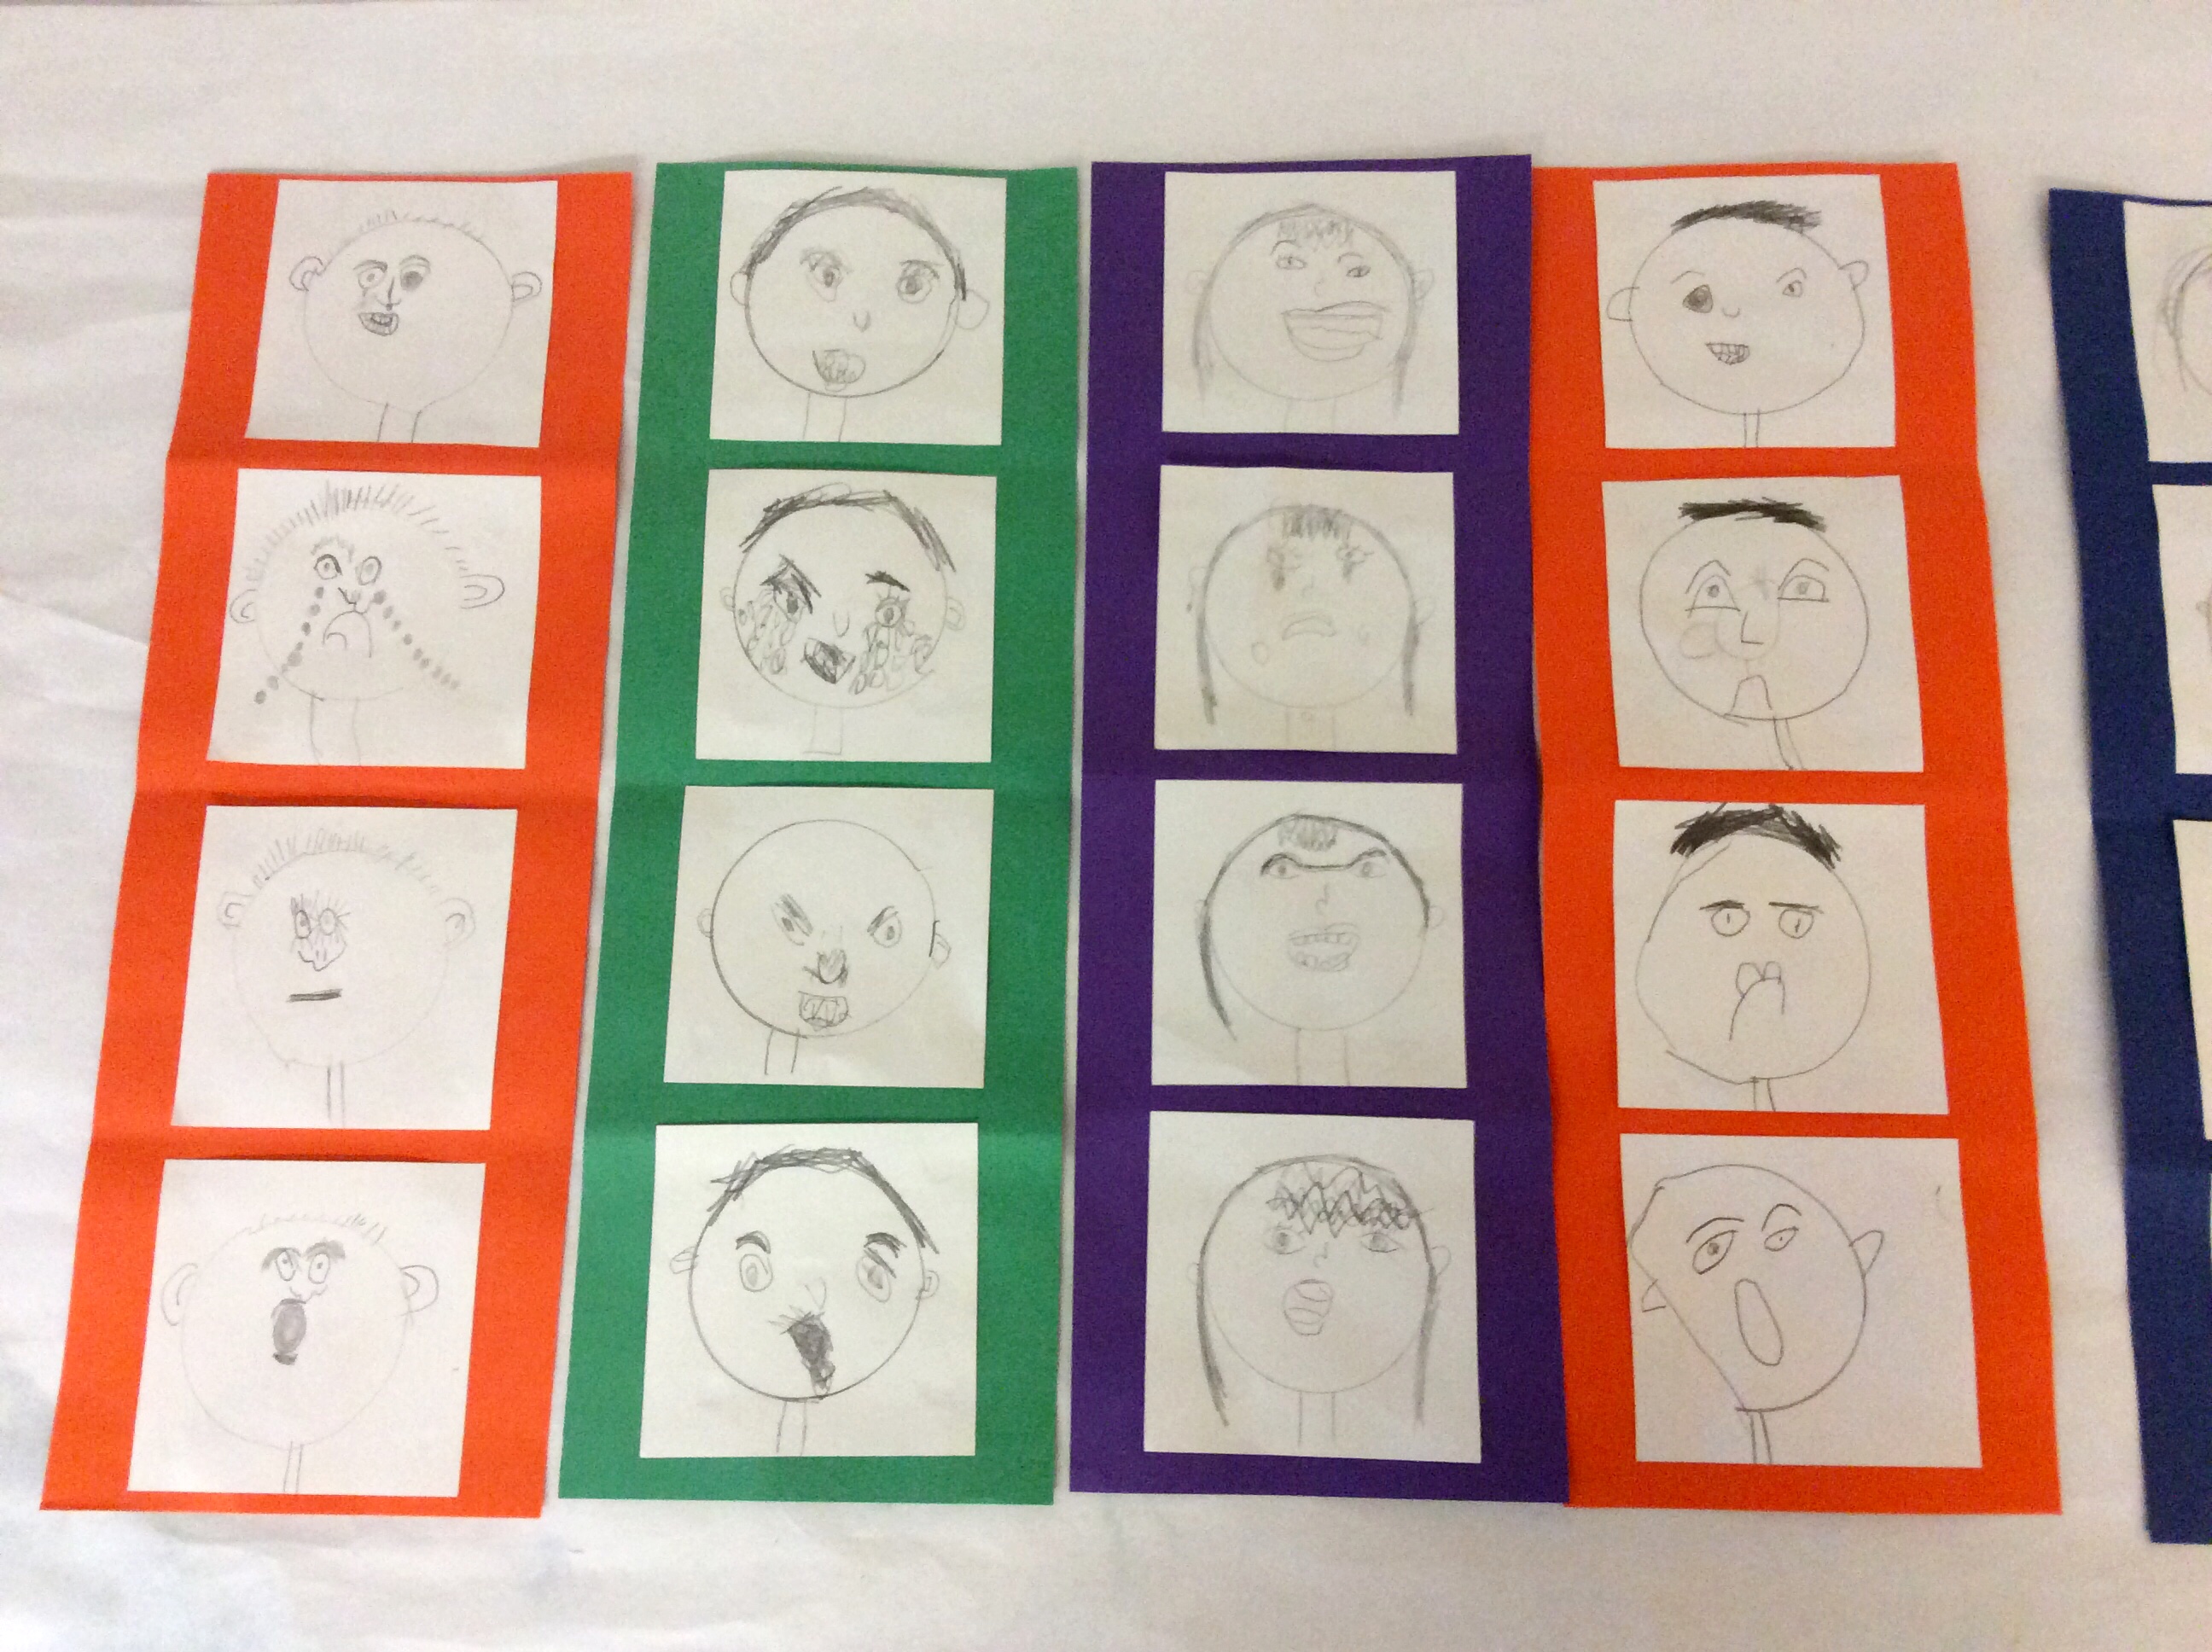 Artist Examples from Mrs. Cornelisse's class 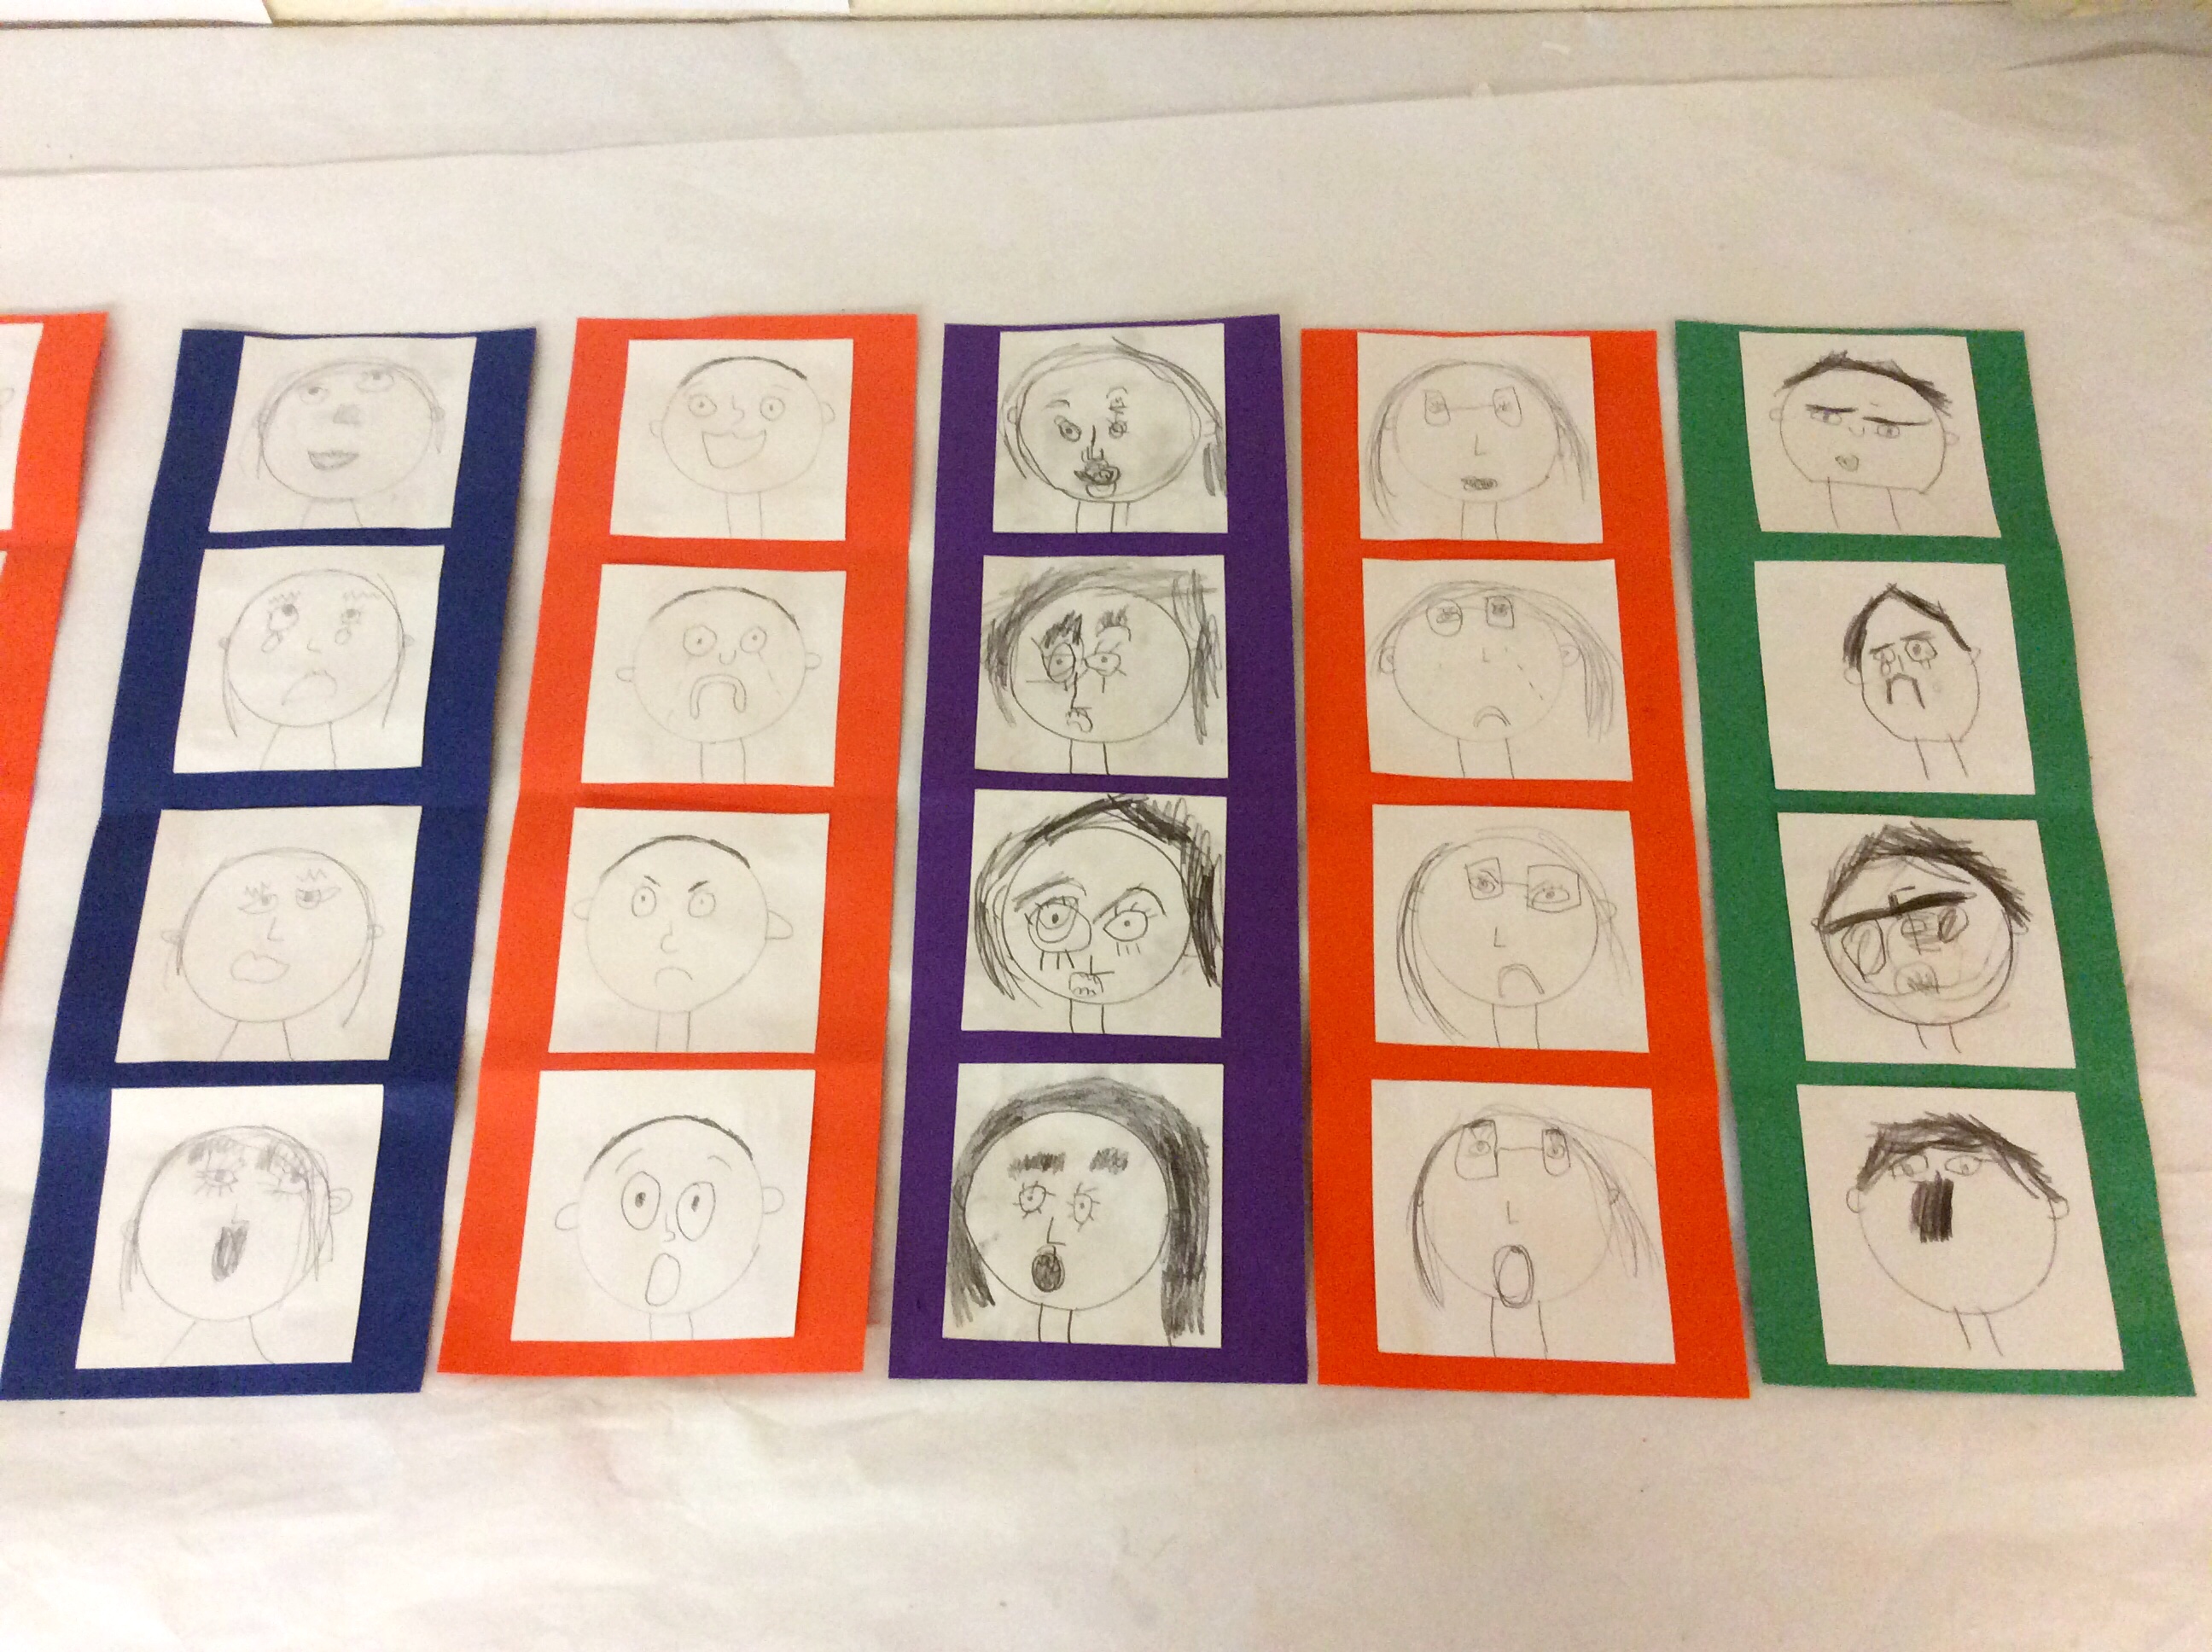 Artist Examples from Mrs. Cornelisse's class This lesson was a great introduction the emotional intelligence that will serve them well through their school years and beyond. I love how they turned out - each student is such an individual and it really shows in their portraits!
I am amazed at how hard students worked on this project! The results really show their commitment to growing their artistic knowledge and skills. This was our first oil pastel project of the year, and these were our learning targets:
Students worked on their Engage & Persist artistic behaviors by continuing to push themselves to develop their values and blending, even after they think they might be done. We are working on overcoming the idea that a work of art is done once everything is "colored in". A work of art grows and develops over time just like we do! They did an amazing job! 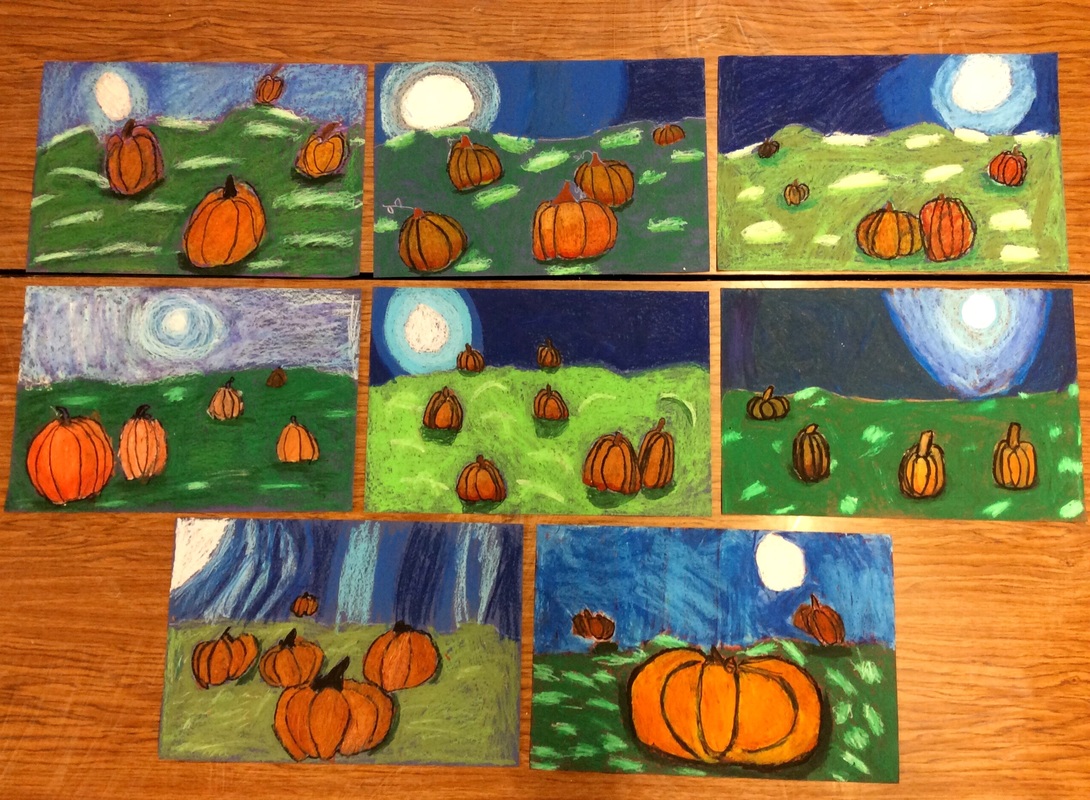 Student work from Mrs. Jerovsek's class. 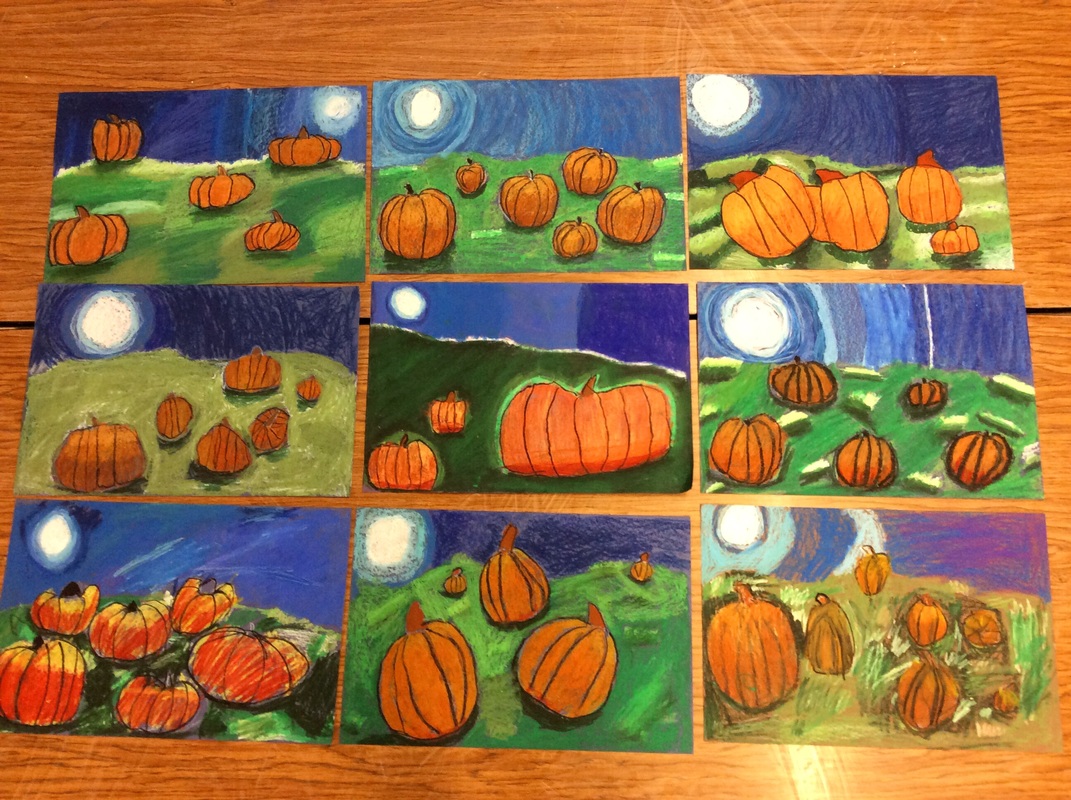 Student work from Mrs. Sella's class. 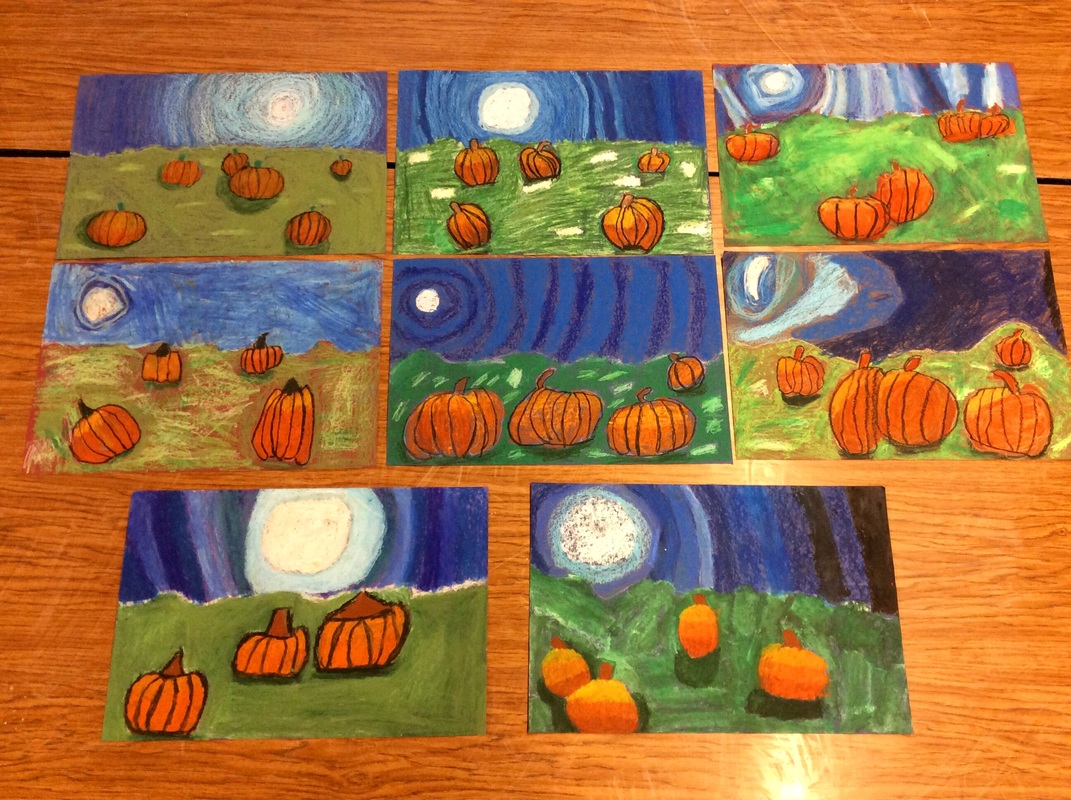 Student work from Mrs. Gortsema's class. 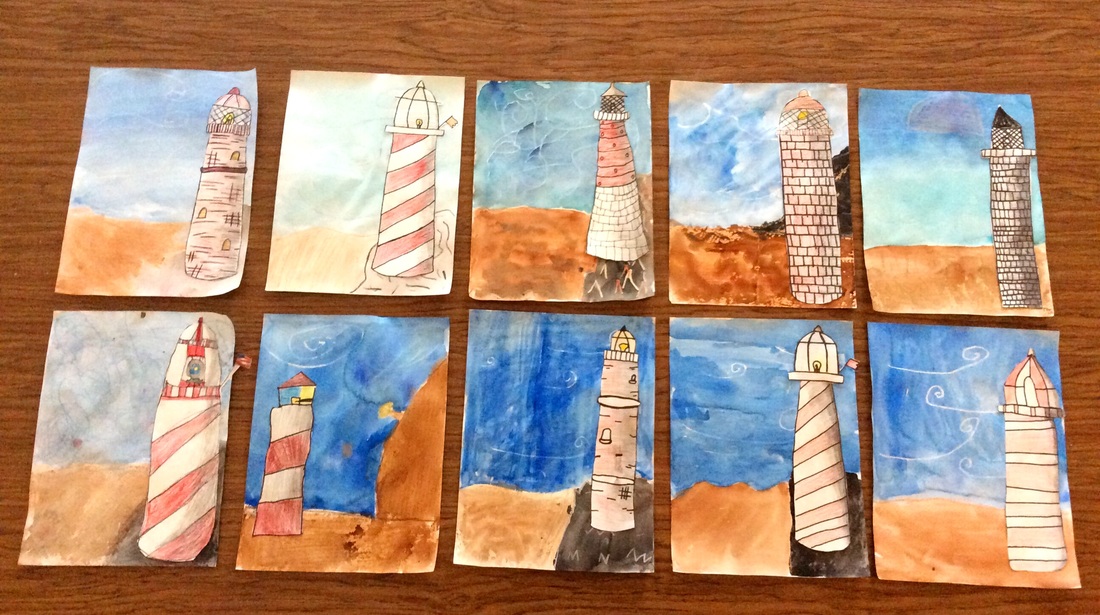 4th grade just finished their lighthouse value studies! Students created a wax resist background for their landscapes and then drew their own lighthouses. Once they were drawn students used pressure to create value shifts on their lighthouses to imply 3D form. Our learning targets for this lesson were 1. Use line and proportion to draw a realistic image. 2. Use value to create 3D forms on a 2D surface. We spent time looking at famous lighthouses in Michigan and I love how they were inspired to design their own lighthouses! 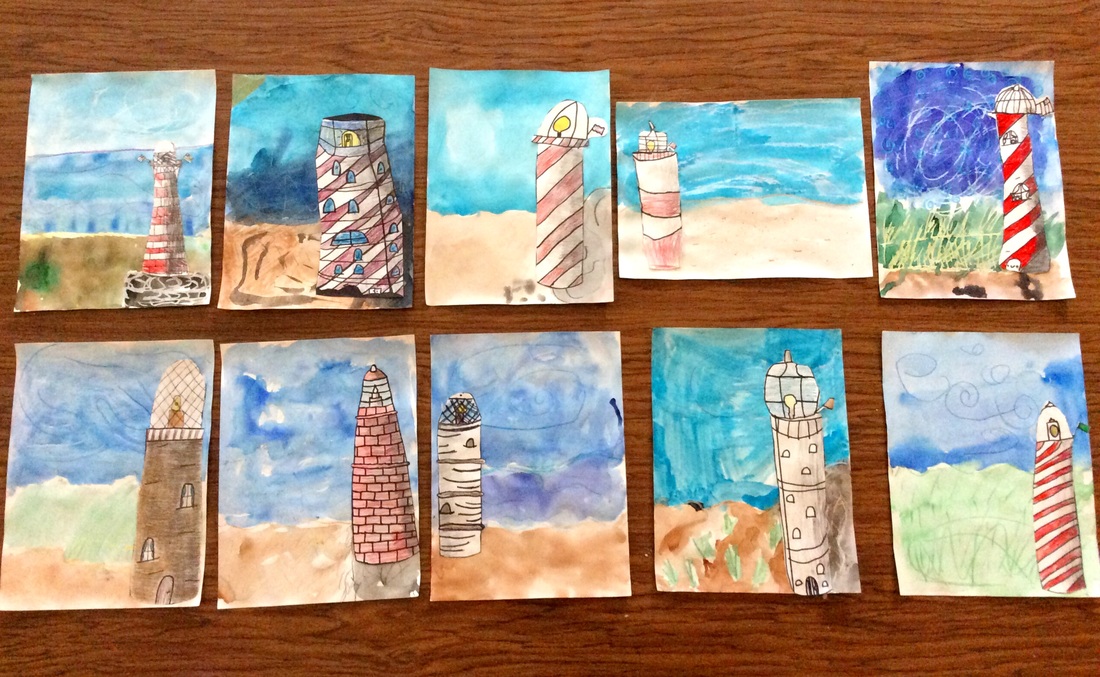 2nd grade recently wrapped up this amazing project and I love how they turned out! Look at how different each of these owls looks! I love seeing their individuality come through their art! Our learning targets for this project was first to use proportion to draw an owl and to create implied texture using patterns. Their work is amazing! I wish I had a camera big enough to photograph every single masterpiece! 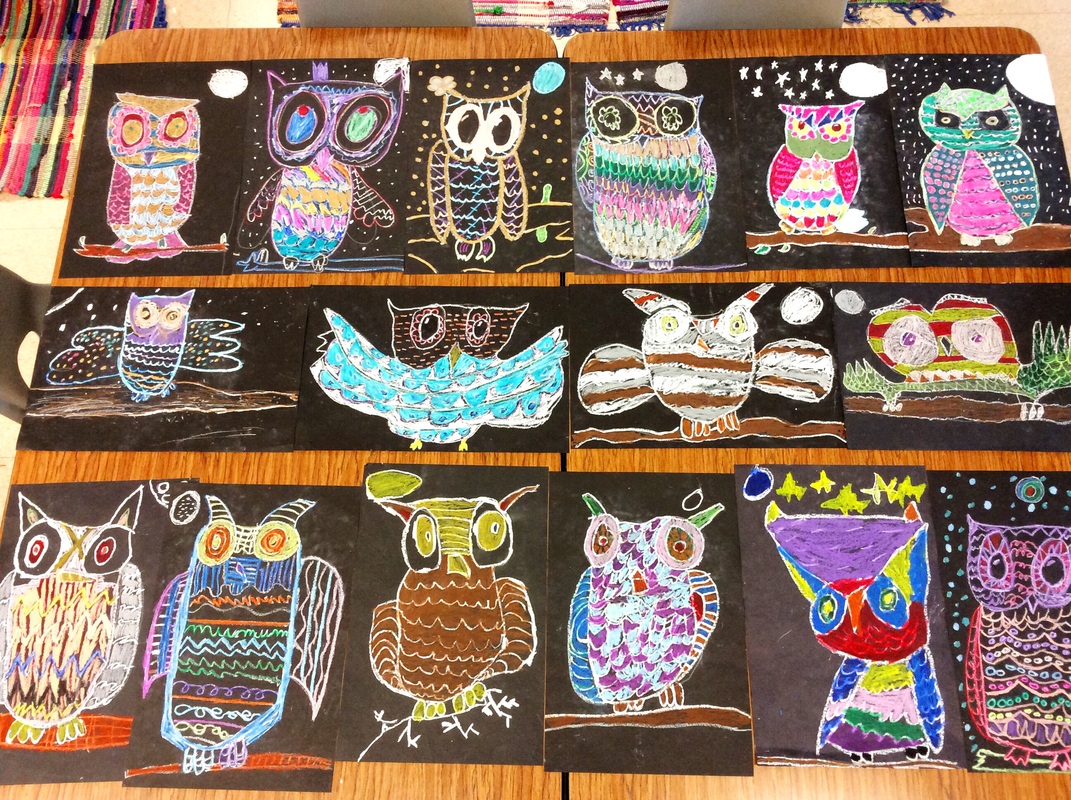 In 3rd grade we are celebrating the season by learning how to blend oil pastels in a painterly fashion to create highlights and shadows within our pumpkin patch landscapes. Below is a time lapse video I made of the process we are following: 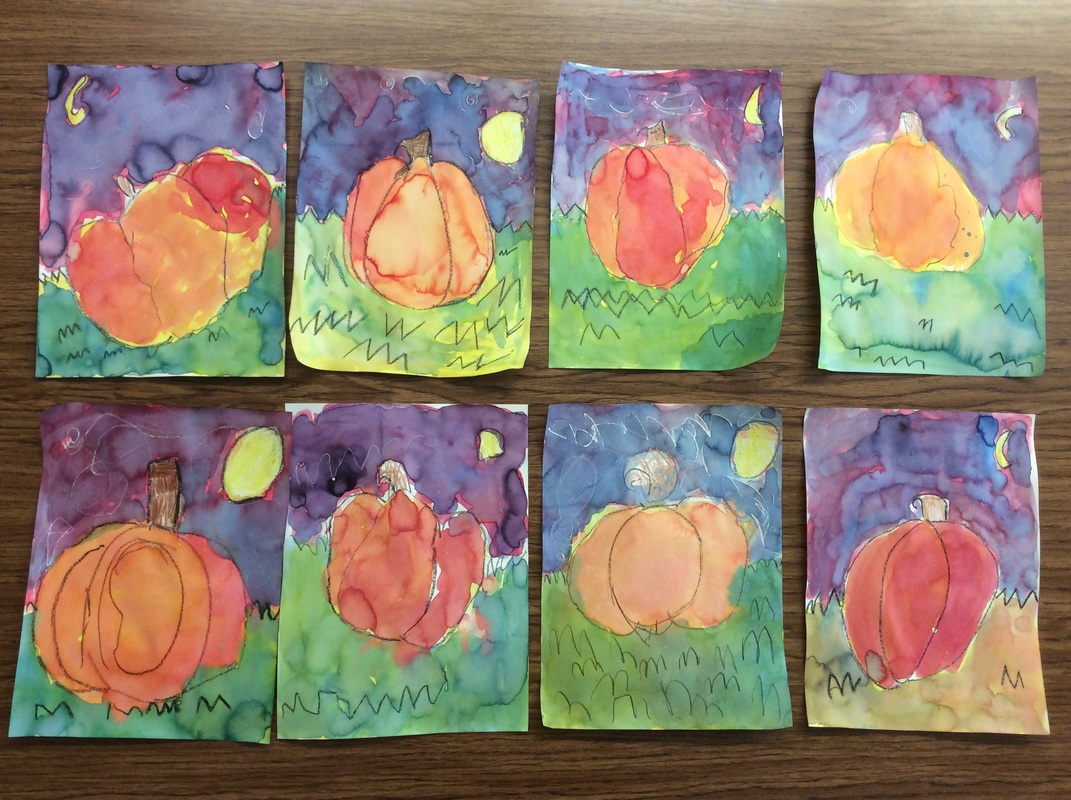 My favorite thing to teach in kindergarten and young fives is easily color mixing. Our first two projects of the year used only primary colors. This time students still only had red, yellow, and blue watercolors but they learned how to use them to paint some beautiful fall pumpkins. Students mixed orange for their pumpkin, purple for their sky, and green for their grass.
The excitement you see on their faces as they make "magic" for the first time and create a new color is one of my favorite moments. This wax resist project is filled with magic as they learn how to use crayon and watercolor together to create the wind in their skies as well. I would say this is a BIG success for the first painting project of the year! What do you think? Here is a short video showing you how to make your textured value grass for you landscape! Remember to use the layering blending technique to create your concentric circle sky! In this oil pastel demo I use red, orange, and yellow to create the value for my pumpkin. Remember the lightest values should be at the top where the moonlight hits your pumpkin and darkest at the bottom where it should be in shadow. You can use brown for your stem, white for highlights, and black to outline! |
Miss HilliardHello there! I teach K-4 art at Peach Plains and Robinson Elementary Schools in Grand Haven, MI. Archives
November 2016
CategorY
All
|
 RSS Feed
